
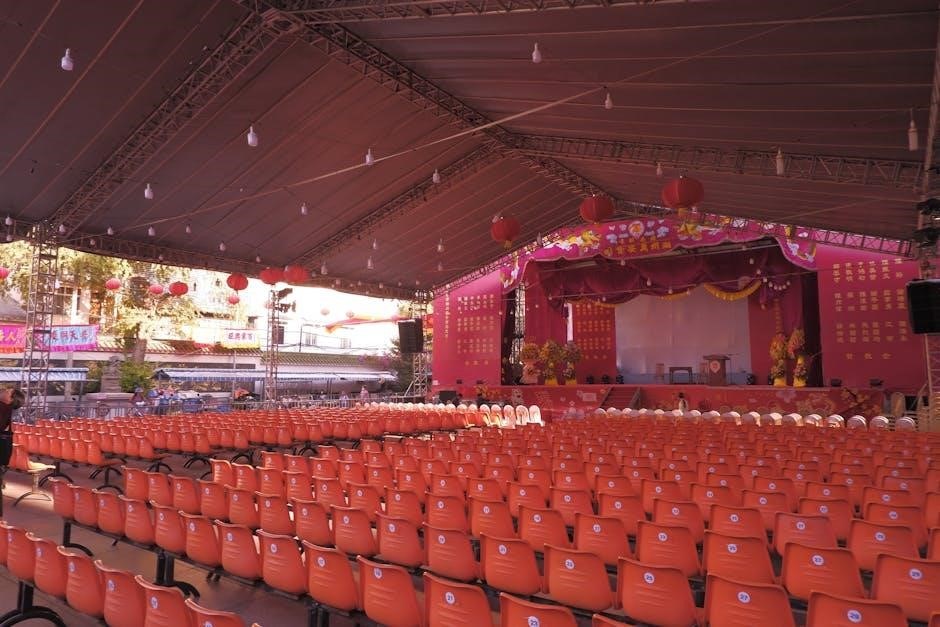
The 10×30 canopy party tent is a spacious‚ weather-resistant shelter ideal for large outdoor events‚ offering durability and ease of assembly for gatherings up to 30 people.
Overview of the 10×30 Party Tent
The 10×30 party tent is a versatile and durable outdoor shelter designed for hosting large gatherings‚ such as weddings‚ BBQs‚ and picnics. Measuring 10 by 30 feet‚ it provides ample space for up to 30 guests. Constructed with a sturdy frame and waterproof canopy‚ this tent is both functional and stylish. Its weather-resistant design ensures it can withstand various outdoor conditions. The included sidewalls and endwalls offer additional protection and privacy. Lightweight yet robust‚ this tent is easy to assemble and disassemble‚ making it a practical choice for event planners and homeowners alike. It’s an excellent option for creating a comfortable outdoor space.
Key Features of the 10×30 Canopy Tent
The 10×30 canopy party tent is a durable‚ weather-resistant shelter designed for outdoor events. It includes sidewalls and endwalls for added protection and privacy. The tent features a sturdy frame and a waterproof canopy‚ ensuring stability in various conditions. With a spacious interior‚ it can accommodate up to 30 people‚ making it ideal for weddings‚ parties‚ and gatherings. The included hardware and clear assembly instructions make setup straightforward. Its versatility and cost-effectiveness make it a popular choice for both personal and commercial use‚ providing reliable coverage for any event.
Assembly Instructions for the 10×30 Party Tent
Assembling the 10×30 party tent involves gathering tools‚ attaching sidewalls‚ and securing with weights for a sturdy and safe setup. Follow the step-by-step guide for a smooth setup experience.
Gathering Tools and Hardware Needed for Assembly
To assemble the 10×30 canopy party tent‚ you’ll need specific tools and hardware. Start by gathering a screwdriver‚ wrench‚ and rubber mallet for securing connections. Ensure all bolts‚ nuts‚ and pins are included in the kit. A ladder or step stool is essential for reaching higher sections. Additionally‚ rope or straps may be useful for stabilizing the frame during assembly. Organize all components beforehand to avoid delays. Proper preparation ensures a smooth and efficient setup process‚ saving time and effort. Double-check the hardware list provided in the manual to confirm nothing is missing. This step is crucial for a successful assembly experience.
Step-by-Step Guide to Assembling the Frame
Start by laying out the frame parts‚ including legs‚ connectors‚ and roof beams. Attach the legs to the base connectors‚ ensuring they are securely locked. Next‚ insert the roof beams into the top of the legs‚ tightening the bolts firmly. Connect the side beams to form the rectangular structure‚ making sure all joints are stable. Use the provided hardware‚ such as screws and Allen keys‚ to tighten each connection. Double-check the frame’s alignment and stability before moving on to the next step. Properly assembled‚ the frame will provide a sturdy base for the canopy top.
Attaching the Canopy Top to the Frame
To attach the canopy top to the frame‚ begin by laying the canopy flat on the ground‚ ensuring it is aligned with the frame’s dimensions. Locate the hooks or straps on the canopy corners and secure them to the frame’s top connectors. Tighten the straps evenly to maintain tension and prevent sagging. Use the provided ropes to tie down the canopy edges to the frame’s legs‚ ensuring a snug fit. Double-check all connections to ensure stability and even distribution of weight. This step is crucial for maintaining the tent’s structural integrity during events.
Installing Sidewalls and Endwalls
Attach sidewalls to the frame by aligning the hooks or Velcro strips with the corresponding points on the tent poles. Ensure each sidewall is securely fastened to maintain structural integrity. For endwalls‚ follow the same process‚ making sure they fit snugly between the sidewalls. Use the provided ropes and stakes to tighten the fabric and prevent sagging. Check all connections to ensure a proper seal and stability. This step is crucial for weather protection and maintaining the tent’s appearance during events.
Securing the Tent with Anchors and Weights
Securing your 10×30 canopy party tent is crucial for stability and safety. Use heavy-duty anchors for grass and weight plates for concrete or asphalt. Ensure all ropes are tightly fastened to the frame. For added stability‚ distribute weights evenly around the tent’s perimeter. Double-check all connections and tighten any loose components. In windy conditions‚ consider additional securing methods like sandbags or extra stakes. Regularly inspect anchors and weights for proper alignment and tension to ensure the tent remains stable during events.
Final Check and Adjustments
After assembling the 10×30 canopy party tent‚ perform a final inspection to ensure all parts are securely in place. Check the tightness of bolts and canopy fabric for proper tension. Verify that sidewalls and endwalls are correctly attached and aligned. Inspect anchors and weights to confirm stability‚ especially in windy conditions. Ensure no gaps exist between the canopy and frame. Visually inspect for any signs of damage or misalignment. Make necessary adjustments to achieve a level and even setup. Double-check all zippers and Velcro for smooth operation. This final step ensures the tent is safe‚ stable‚ and ready for use‚ providing a secure shelter for your event.

Safety Tips and Precautions
Ensure tent stability in windy conditions by using anchors and weights. Keep the area clear of obstructions and avoid overcrowding to maintain structural integrity and safety.
Ensuring Stability in Windy Conditions
To maintain stability in windy conditions‚ ensure the 10×30 canopy tent is securely anchored using heavy-duty stakes and weights. Tighten all frame connections and canopy fabric to prevent flapping. Use sandbags or weights on the legs for added support. Install sidewalls strategically to reduce wind exposure‚ but keep them open if high winds are expected. Regularly inspect anchors and tighten them as needed. Avoid setting up in highly exposed areas without proper shielding. Monitor weather forecasts and disassemble the tent if extreme winds are predicted. A sturdy‚ well-secured frame and tightly fitted canopy are key to withstanding moderate winds effectively.
Preparing for Rain and Moisture
Ensure the 10×30 canopy party tent is prepared for rain by checking its waterproof coating and sealing any gaps. Use sidewalls to enclose the space and prevent water ingress. Secure the tent firmly with weighted anchors to withstand wind-driven rain. Avoid setting up in low-lying areas where water may collect. After rainfall‚ inspect for puddles and ensure proper drainage. Regularly clean and dry the tent to prevent mold and mildew. Apply a waterproofing spray if needed for extra protection. Always follow manufacturer guidelines for moisture prevention to maintain the tent’s durability and safety during wet conditions.
Maintenance and Storage
Regular cleaning and drying prevent mold and damage. Store the tent in a cool‚ dry place‚ properly folded. Check for pests and ensure all parts are secure.
Cleaning the Canopy and Sidewalls
Regular cleaning is essential to maintain the appearance and durability of your 10×30 canopy party tent. Use a mild detergent and water to gently scrub the fabric‚ avoiding abrasive materials that may damage the material. For tougher stains‚ apply a solution of equal parts water and white vinegar. Rinse thoroughly with clean water to remove any soap residue. Allow the canopy and sidewalls to air dry completely to prevent mildew. For frame cleaning‚ wipe down with a damp cloth. Regular maintenance ensures your tent remains in prime condition for future events.
Proper Storage to Extend Lifespan
To maintain the durability and quality of your 10×30 canopy party tent‚ proper storage is essential. After each use‚ ensure the tent is completely dry and free from dirt or debris; Store it in a cool‚ dry place‚ away from direct sunlight and moisture. Use a sturdy storage bag or airtight container to protect against pests and dust. Avoid folding the tent when wet‚ as this can lead to mould or mildew. Regularly inspect the tent before and after storage to address any signs of damage or wear. Proper storage practices will help extend the lifespan of your tent and ensure it remains in excellent condition for future events;
Accessories and Customization
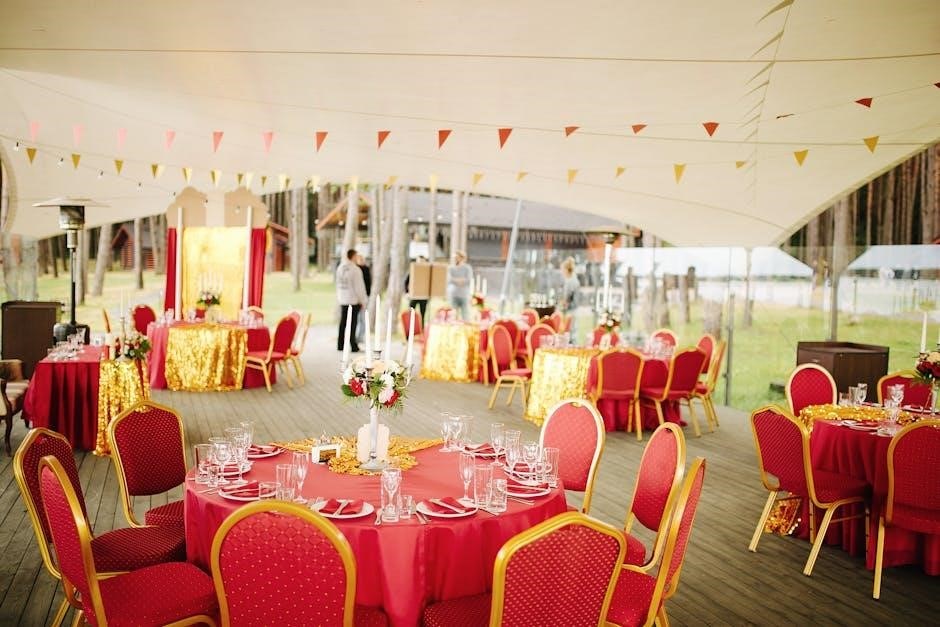
Enhance your 10×30 canopy tent with optional sidewalls‚ endwalls‚ and window panels for added functionality. Customization options allow you to tailor the tent’s appearance and functionality for events.
Available Accessories for the 10×30 Tent
The 10×30 canopy tent can be enhanced with various accessories to improve functionality and aesthetics. Popular options include removable sidewalls‚ endwalls‚ and window panels for added privacy and weather protection. Lighting kits and decorative elements like fairy lights or string lights are also available to create a festive ambiance. Heavy-duty anchors and weights ensure stability‚ while storage bags and cleaning kits help maintain the tent’s condition. Customization options‚ such as branded canopies or themed decorations‚ allow users to personalize their event space. These accessories make the 10×30 tent versatile for weddings‚ parties‚ or commercial events.
Customizing Your Party Tent for Events
Customizing your 10×30 party tent enhances its appeal and functionality for specific events. Add themed decorations like string lights‚ banners‚ or floral arrangements to create a unique ambiance. Use sidewalls with windows or decorative panels to match your event style. Incorporate branded elements such as logos or personalized banners for corporate or special occasions. Additionally‚ you can add flooring‚ tables‚ and chairs to maximize comfort. For outdoor events‚ consider attaching mosquito nets or ventilation kits to ensure guest comfort. These customizations make your tent versatile and tailored to your event needs‚ ensuring a memorable experience for all attendees.

Troubleshooting Common Issues
Addressing leaks and water damage involves sealing seams and tightening connections. Fixing bent frame parts requires careful realignment and replacement of damaged sections promptly to ensure stability.
Addressing Leaks and Water Damage

Leakage and water damage are common issues that can arise with the 10×30 canopy party tent. Start by inspecting the seams and edges for gaps or tears. Apply a waterproof sealant to compromised areas and ensure the tent is properly pitched to allow water to run off. For severe damage‚ replace the affected sections. Regularly cleaning the canopy and sidewalls can prevent mildew and extend its lifespan. Always follow the manufacturer’s guidelines for repairs and maintenance to ensure the tent remains waterproof and structurally sound for future events.
Fixing Damaged or Bent Frame Parts
If the frame of your 10×30 canopy party tent becomes damaged or bent‚ address the issue promptly to ensure stability. For minor bends‚ carefully straighten the frame using a mallet or pliers‚ avoiding excessive force that could worsen the damage. For severely bent or broken parts‚ replace them with compatible spare components. Ensure all connections are secure and tighten any loose bolts or screws. If the damage affects the tent’s structural integrity‚ consider consulting a professional or contacting the manufacturer for assistance. Always prioritize safety to prevent collapses during events.
Final Thoughts on the 10×30 Canopy Tent
The 10×30 canopy tent is a versatile and durable option for hosting outdoor events‚ offering ample space and weather resistance. Its ease of assembly and included sidewalls make it a practical choice for gatherings. With a capacity for up to 30 people‚ it’s ideal for weddings‚ parties‚ or camping. The tent’s sturdy frame and waterproof canopy ensure reliability in various conditions. While assembly requires time and effort‚ the comprehensive instructions guide users through the process. Overall‚ it’s a cost-effective solution for creating a sheltered outdoor space‚ providing both functionality and style for any event.